In this topic, I started learning about 3D from the basics to a professional quality. I used a 3D software called Autodesk Softimage 2010, and it is an amazing software to use once you get the hang of it!
Assignment : Interior Building
Starting from learning the basics, I get to know the interface keys on the Autodesk Softimage before actually starting on the assignment. My lecturer gave me a quick model to work on creating an interior building by using shapes. I first started to model the interior kitchen. Here's one of my interior building that I made for my model exercise:

From the 4 viewports - Autodesk Softimage 2010

From the Perspective View - Autodesk Softimage 2010


Assignment : Modelling A Character
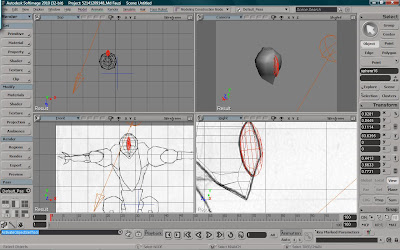
The next assignment is where I create a model of a mecha / robot character, following the drawing references I have drawn and scanned. At that time, I was still getting used to the software and the interfaces, which I have done on the character by following the shapes that I seen on my drawing references that been put into the viewport. This is the progress on how I made the robot character:

Robot Character ( Front Side )

Robot Character ( Left Side )

Step 1 : I created a basic cube to get the head shape

Step 2 : Using the sphere polygon, I minimize and rescale it to get the eye shape

Step 3 : Going along the progress, I created a cylinder to get the neck shape

Step 4 : On going the progress, I try to get the shape of the body by playing around with the point of each polygon

Step 5 : To get the bottom one, I bring the bottom face of my body and make it long cube, so then, I started playing around to get the bottom body

Step 6 : Then, I created another polygon to get the front body (the belly)

Step 7 : Then comes to create the bottom torso

Step 8 : Through the progress, I created another cylinder polygon to get the wired connected shape for the leg

Step 9 : Just for quick work, I tried to get the shape of the robot hand using the cube polygon

Step 10 : On the process, I duplicated the shoulder of the robot and make changes for the arm

Step 11 : This is where I started playing many polygons for the hand

Step 12 : I started to duplicate the finger once I got the shape that I wanted

Step 13 : Then, comes to continue for the leg progression

Step 14 : In doing the simple way, I created a sphere for the joint of the robot leg

Step 15 : By creating the cube shape, I ended up putting some many edges, so I know where I wanted to edit up for the robot leg

Step 16 : Using the sphere shape, I duplicated it and arrange to the side for the leg

Step 17 : In finishing, I created another polygon and play around to get the robot feet and attached the sphere I created to it

Step 18 : Before the final touching up, I enhanced the hand just a quite bit and duplicate it by mirroring to get the other side

Step 19 : Doing the same method, I duplicated mirror for my leg and attached to the other side

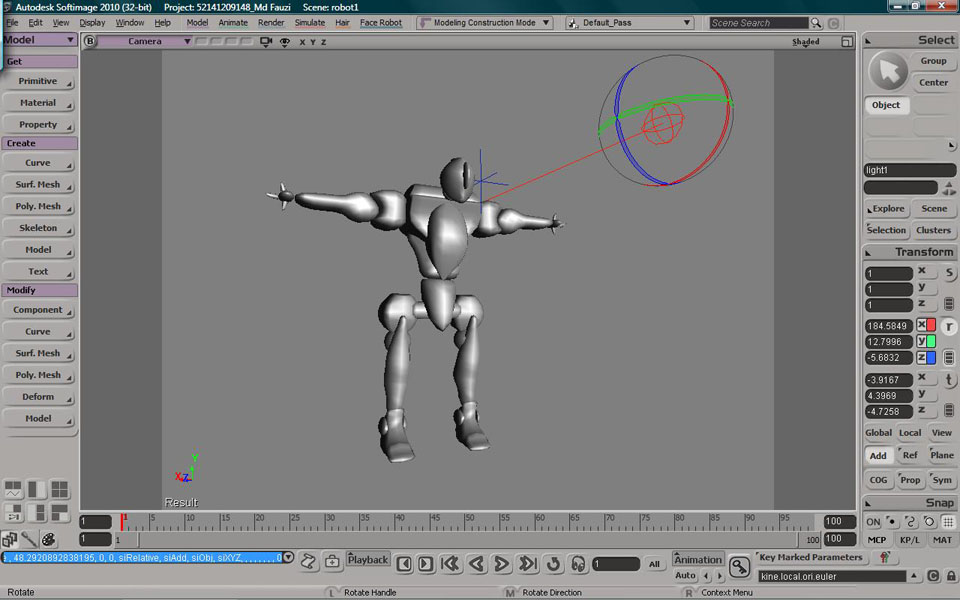
Step 20 : I ended up using the light I created ( only one ) to know where the light comes from

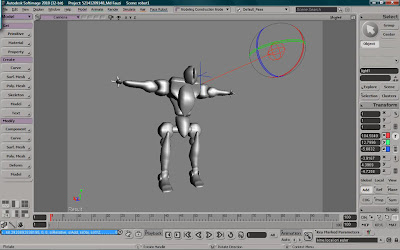
Step 21 : By finishing up, I selected the robot and made it like real ( see the difference on the step 20 )
My first modelling robot character for my assignment during semester 2
Assignment : Texturing
I have been assigned to texture on the model which is this super futuristic bike. Here, I have been texturing the bike and change the environment to get the background mood I wanted. This is some of my texturing work :

Super Bike Texturing : Front View

Super Bike Texturing : Back View

Super Bike Texturing : Master Angle
Assignment : Final Photo realistic
With doing many modelling, texturing exercise, I have been then given my final assignment of doing photo-realism. My final photo-realistic product was creating the electronic gaming device, Sony PSP. Here is my final work viewed below :

PSP's Blueprint ( taken from the google image )
Angle view of the final photo realistic :


Semester 3 : Bouncing Ball & Final Character Animation II
In this section, I enhanced my 3D character animation and also animating some basic bouncing ball in 3D. Here is one of my video below :
Bouncing Ball Animation
Final Character Animation Semester 3
No comments:
Post a Comment